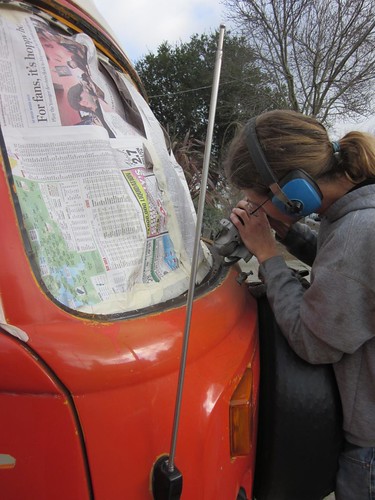
Grinding the rust around the window seal.
We started out by removing the front window and getting all of the seal off of the metal. This wasn't as easy as it would seem, since the seal was melted/glued on in some places. Then came the grinding to get rid of the rust that formed all around and under where the window seal was.
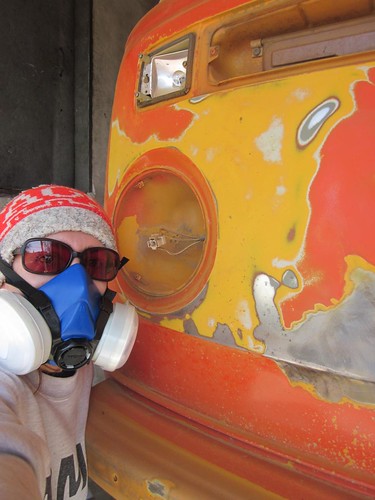
Stripping off all of the paint.
There were a lot of dings from rocks hitting the front of the bus from the road. Some dings were shallow, but others were deep and the exposed metal started to rust. So in addition to grinding around the window seal, we decided to take off all of the paint on the front. This is when we discovered that there was actually a lot of bondo behind where the spare tire mounted. The spare tire mount was bending the thin sheet metal which makes up the front of the bus, so we took it off and sealed the holes where it mounted.
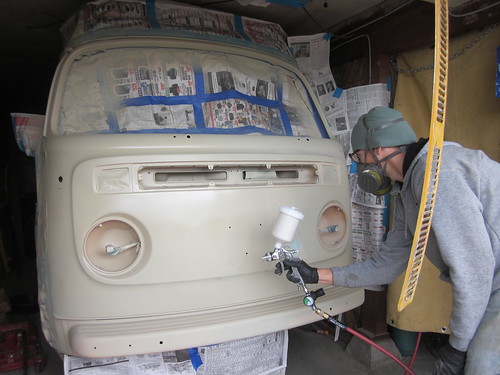
A layer of primer goes on first.
Taking off all the paint and redoing the bondo in some places took us a month! We only worked on the weekends, so it took a long time and really dragged out. We also fixed dents and dings in the front that had been there since before we bought the bus over 5 years ago. I think one of the previous owners bumped into something with the spare tire and it indented the whole front. Also, before we bought it, a huge rock was thrown out from under a lawn mower and then got flung into the front of the bus, leaving a huge gash. We fixed that too.
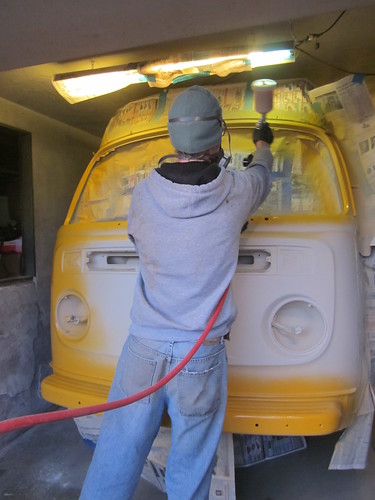
The first coat of the new color is being painted.
We chose to repaint the bus to the original burnt yellow color, called Chrome Yellow. We found information on what color the bus was originally painted in the M-code on the tag that is under the dashboard on the driver's side. So the front doesn't match the rest of the bus, but little by little, we will fix every body panel and repaint it to match.
A video of the color going on.
Romy was a lot better at painting than I was, so he applied all of the paint with a paint gun. We got the paint from a place called San Leandro Color, a paint shop in the Bay Area. It was kind of expensive, but it was really good primer and paint. We put a few coats of primer on and then sanded it down before putting on the actual coats of color. We found that wet sanding was the best and helped get the primer really smooth!

The paint is all done!
Once the color got on, it started looking really good and very shiny! All that hard work in prepping was all worth it! Seriously, about 80% of all the work in repainting isn't actually in the painting part. It's all the work you do before hand! The paint really smelled, so we worked with masks on our face the whole time (and during sanding too). The paint smell leaked upstairs into our apartment for a few days, so we had to have all of the windows open for ventilation!
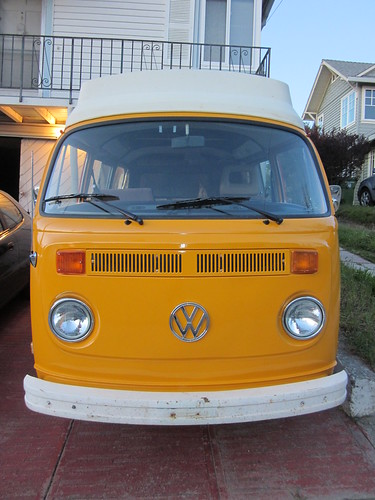
The finished front! It's now called Lemonhead.
When we were finally done painting, we were sooooo happy! It then took us a relatively short time to put all of the trim and lights and other stuff back on. We got a new window seal and then put the old window back in (it was still good). Then we washed everything one more time and now it's finished! We gave the bus a new name. Because of the yellow front and the yellow pop-top canvas, we call it Lemonhead! We also bought a bra for the bus, and when we drive it now, we put the bra on to protect the new paint. We should've had one the entire time, really. We also replaced the sliding door window seal, and now that window doesn't leak anymore. Yay! After all that work, we are taking a break for a while!

3 comments:
I see all the pictures you mentioned on your blog. And that really impressed me. You have great knowledge of this. Please share more information with us.Ice Blasting
The information in the post you posted here is useful because it contains some of the best information available. Thanks for sharing it. Keep up the good work rubber mat
oh i love this car come to amelia island there are best hotels in amelia island
Post a Comment