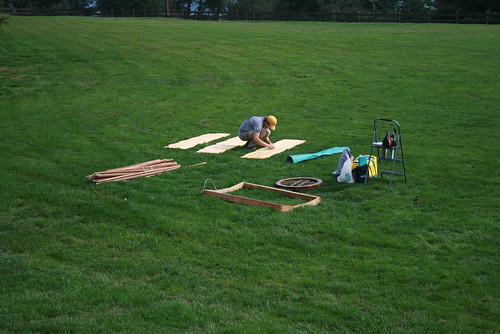
Romy setting the pieces of the yurt out in the grass. It really helps to have a step ladder.
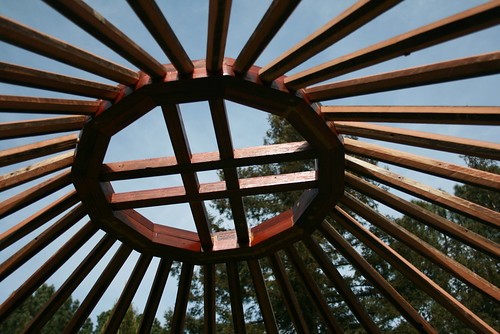
The redwood crown.
Romy pushing the roof canvas on top. Its actually pretty heavy!
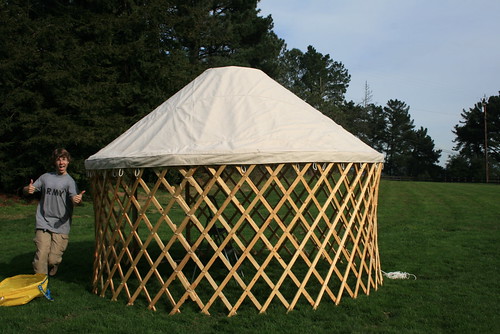
Alright! Romy gives thumbs - the roof fits and the roof band is tight.
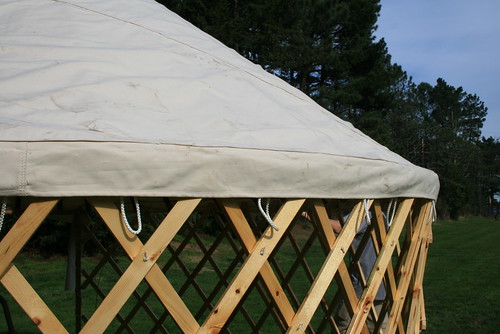
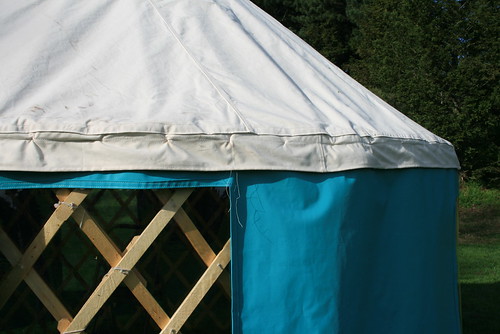
A close up of the roof and roof band. You can see some of the rope loops hanging down - that's where the wall will attach.
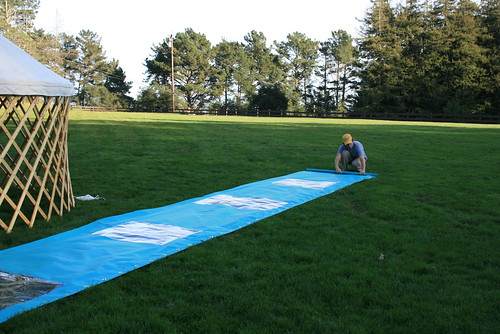
Unrolling the yurt wall. You can see all of the windows are sewn in. The wall is 36ft long.
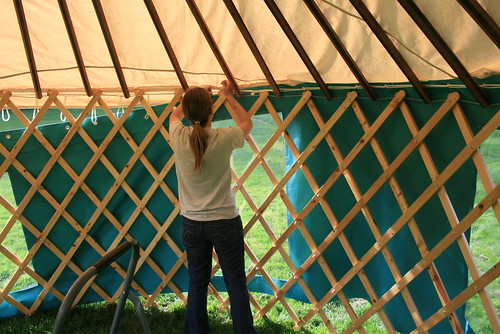
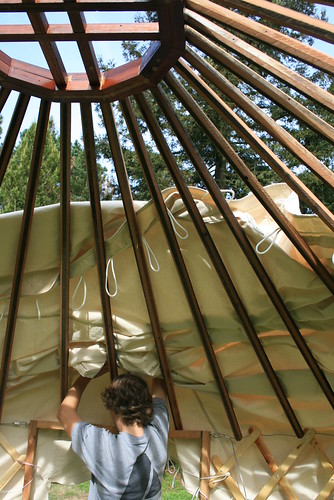
Nicole attaches the wall to the roof using the loop-rope system. The wall must be attached from the inside of the yurt by design.
The roof had to be pushed up while tying the wall to the roof.
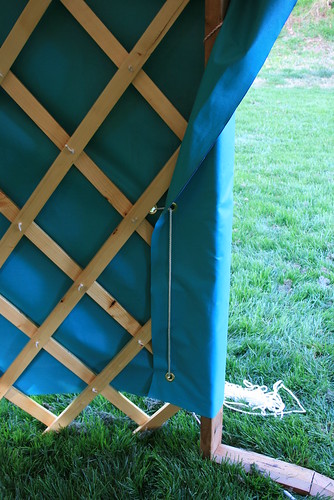
The wall wraps around the door frame and is tightened with rope.
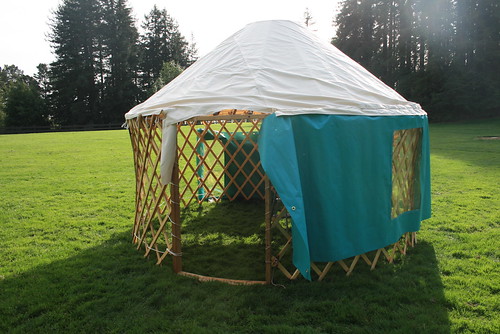
The wall is fully attached. The bottom band isn't sewn on yet, that's why the wall is just short of the ground. The bottom band will be made out of vinyl which will not absorb water and rot.
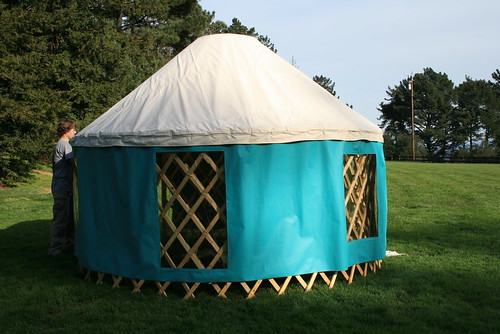
An outside view of the yurt. You can see the two sizes of windows.
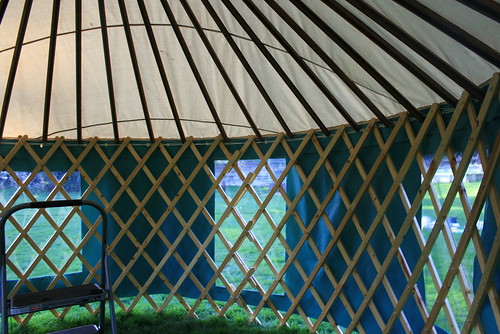
The roof line and a window.
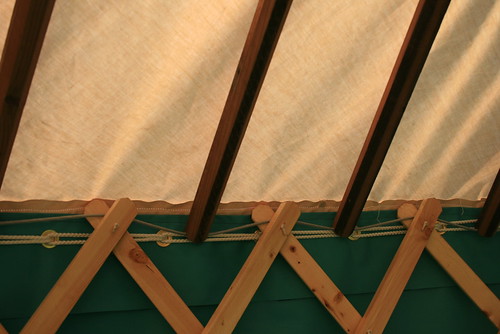
You can see in this picture how the walls attach to the roof. The loops of rope interlock with each other as you feed them through the grommets. The wall is not supported by the tension cable, as many popular designs call for.
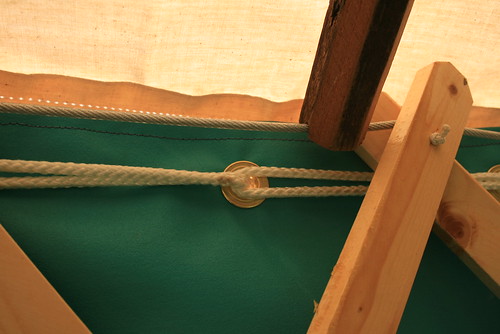
Close up of the rope loop system.
You might notice that the yurt doesn't yet have a door flap and the wall doesn't reach all the way to the ground. I still have to complete the bottom band, which will extend the wall to the ground and connect to the vinyl floor (still have to make the floor to!) with velcro. I have to finish this all in the next two weeks because that's when the maiden yurt voyage will be to the hot springs near Mammoth Lakes!

0 comments:
Post a Comment